

Widening a Gravel Driveway: Why the Seam Is the Weak Point
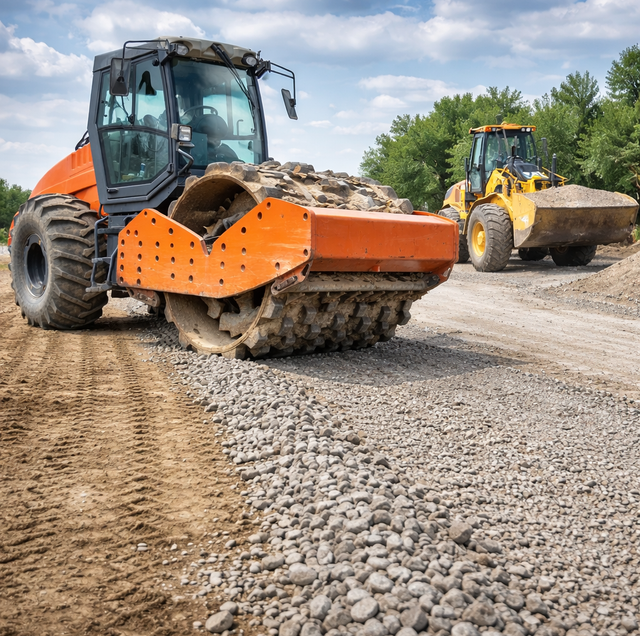
A driveway that has carried tires down the same track for years and a strip of gravel that went in last week don't behave the same way underfoot, even when the same crew builds both. Widening an existing driveway, adding room for a second vehicle, a boat or trailer, or just enough turning radius to stop clipping the mailbox, means running new base and finish material right up against a section that's already dense and fully settled. Get that seam wrong, and the two sections act like two separate driveways parked side by side instead of one surface, with a ridge, a rut, or a trench marking exactly where they meet.
Why Owners Widen a Driveway in the First Place
The most common trigger is a second vehicle that didn't exist when the driveway was built: a work truck, a teenager's car, or a boat or camper that needs somewhere to sit besides the grass. The other common trigger is geometry rather than a second vehicle at all. A driveway that was fine for a sedan can feel tight once a longer truck or a trailer has to make the same turn, and a few extra feet of width at a curve or an approach to the garage solves that without moving the whole driveway.
The Seam Is the Real Challenge, Not the Extra Stone
Ordering more stone and spreading it beside an existing lane is the easy part. The part that determines whether the finished driveway looks and drives like a single continuous surface, rather than a patchwork, occurs at the line where the new material meets the old. This is a different problem than building a fresh standalone pad or turnaround off to the side, and it's a different problem than restoring width a driveway has lost to erosion over the years. Both of those are worth their own separate look. Widening is specifically about adding permanent width to a travel lane while keeping its original footprint, and tying that new strip into a base that's already carried traffic and has finished settling.
Old Base vs New Base: Two Different Materials Doing the Same Job
The existing driveway's base has been compacted mechanically, and then further compacted by every tire that's rolled over it since. It's dense, it's stopped settling, and it isn't going to move much more no matter what gets built next to it. Freshly placed base, even when it's compacted properly at install, hasn't been through that: it keeps consolidating a little further under its first months of real traffic, the way any new compacted material does before it fully locks in.
That gap in behavior is exactly why the joint between the two needs deliberate handling. Set new base flush against old base with nothing done to connect them, and you've built two materials with different settling curves that happen to touch at one line. As the new side keeps giving slightly under traffic and the old side doesn't, that line becomes a fault: a step you can feel underfoot, or a narrow trench that opens right at the seam after the first few months of use.
Cutting the Existing Edge at an Angle Instead of Straight Down
A straight vertical cut into the existing base looks tidy on day one, but it leaves the new material with a wall to butt against rather than something to grip. Everything below that wall stays exactly where it is while the new base beside it settles independently, and the two sides never really lock together.
A stepped or benched cut- carved into the existing base at the edge, rather than a plumb vertical face- gives the new material something to key into instead of a flat surface to lean on. Each step lets new stone interlock with old stone at more than one point rather than along a single straight plane, spreading the load transfer across a wider area of contact.
An angled cut- sloping back into the existing base rather than straight down- works on the same principle. The new material is compacted against a sloped face, and some of it settles into the slope itself, so the two sections behave more like a single wedge of material than two blocks pushed together.
Either method takes more work at the cut line than a straight trench edge, but it's the difference between a seam that locks together under compaction and one that's really just two driveways touching.
Pull the existing finish layer back a foot or two beyond where the stepped or angled cut will actually be made, not just to the cut edge itself. That gives the new base a clean working face to tie into, rather than fighting loose surface stone that sloughs into the joint during compaction.
Matching the New Section's Depth and Material to the Old
Getting the cut right doesn't help if the new base ends up at a different depth or made of a different material than what's already there. A standard base course generally runs 4 to 6 inches once compacted, built up in lifts of roughly 2 to 4 inches rather than dumped and rolled once. A widened section needs to match whatever depth the original driveway was built to, not the general rule of thumb. A driveway that was built deeper because it regularly carries a work truck or heavy trailer needs its new lane built to that same depth, or the new strip becomes the soft spot the first time that same vehicle drives over it instead of the old lane.
A depth mismatch: this is what produces the ridge or low trench that shows up at the seam months later, even when the cut itself was done correctly. If the old base sits at 6 inches and the new strip only gets 4, the new side keeps compressing under load long after the old side has stopped, and the difference shows up as a dip that tracks the seam line exactly.
Material matters almost as much as depth. Angular, sharp-faced crushed stone locks together and compacts tighter than rounded stone, so pairing an angular base under the new strip with rounded material under the old one, or the reverse, gives the two sides different compaction behavior even at matching depths. If the original base is recycled concrete aggregate or crushed asphalt millings, the new section should use the same material where available, both for how it performs under compaction and to ensure the finished surface doesn't read as two different projects stitched together.
Recentering the Crown Across the Full New Width
A driveway's crown, the slight rise down the center that sheds water off both edges, was built for the width the driveway had when it went in. Widen the driveway on one side without touching the grade, and that original crown is still centered on what used to be the whole driveway, which now is only part of it. Water still peaks and sheds from that old centerline instead of the true center of the new, wider surface, which means the new strip either sits slightly high with nowhere for its own water to go, or slightly low and ends up catching runoff shed off the old section on top of its own.
The fix is to regrade the cross-slope across the entire new width, not just add a flat strip beside the existing crown. That means reshaping the high point to the actual center of the finished driveway and carrying a consistent fall from there to both outer edges, old side and new side alike, so the whole surface sheds as one crowned driveway instead of an old crown with a flat shoulder tacked onto it.
What a Rushed Tie-In Looks Like a Year Later
A widened driveway with a poorly handled seam usually looks fine for the first few weeks, because loose surface material hides what's happening underneath. What shows up later is a straight line, right where old met new, where the new side has settled lower than the old, or a ridge where a depth mismatch pushed the new section's finish grade slightly proud of the original. Standing water tends to collect along that same line, since a crown that's still centered on the old lane sheds water toward the seam instead of away from it. None of it is usually visible from the road; it's the kind of problem a driver only notices from behind the wheel, when one side of the vehicle dips slightly every time it crosses that same spot.
Frequently Asked Questions
One-sided widening is more common than symmetrical widening, since it usually follows where extra room is needed, such as along a fence line or toward a side yard. Widening on both sides at once, less common but sometimes needed on a driveway that's tight for its whole length rather than just tight in one direction, doubles the number of seams to tie in but keeps the crown's centerline closer to where it already sits.
Yes. Fabric under the existing driveway doesn't extend to the soil the new strip is sitting on, so the new section needs its own layer of fabric between the native soil and the new base to keep fines from pumping up into the stone, the same job it does under the original driveway.
The new base can typically take traffic as soon as compaction is finished, since compacted stone doesn't need to cure the way concrete does, but some further settling under the new side is normal over its first few months regardless of how well it was compacted. That's exactly why the stepped or angled cut at the seam matters: it's what keeps that normal settling from opening a step at the joint instead of settling evenly across both sides. Some crews will route regular traffic over the new lane specifically during that window, rather than avoid it, since real-world traffic helps consolidate the material faster than it would while sitting unused.
Before the new base goes in, the existing finish layer along the cut line typically gets pulled back a foot or two beyond where the stepped or angled cut is made, not just stripped to the cut edge itself, so the new base ties into a clean working face rather than fighting loose surface stone that sloughs into the joint during compaction. Once the new base is compacted and tied in, a straightedge laid across the seam is a simple way to confirm the two sides settled to the same plane before the finish layer goes down.
It can, and the recentered crown described above is what determines where that added volume actually lands. Because the new centerline sits further from the old lane's original edge, the outer shoulder on the widened side often starts shedding into ground, or a ditch run, that never carried driveway runoff before, which is worth walking before the regrade rather than assuming the existing drainage path just absorbs the difference.
A close match in size and color works better than something visibly different, since the finish layer is what a driver sees and feels underfoot. Millings and plain aggregate specifically should meet at a defined line rather than get raked together at the joint, the same rule that applies anywhere those two materials come into contact; a feathered blend at the seam undercuts how the millings knit rather than helping the transition look smoother.
Schedule a driveway widening consultation — we'll cut, match, and re-crown the tie-in so the new lane performs as one surface with the old. Polk Services LLC serves Lakeland, Highland City, and Mulberry. Call (863) 344-5806.
